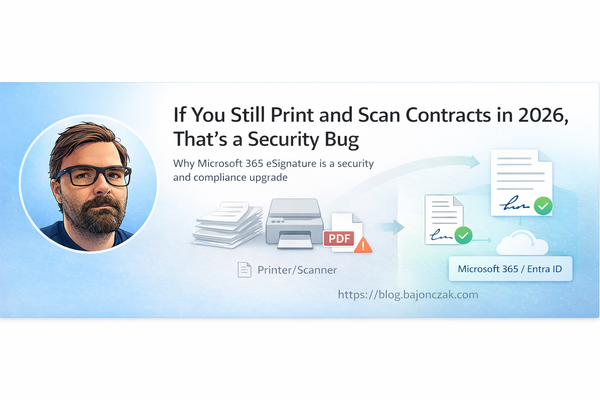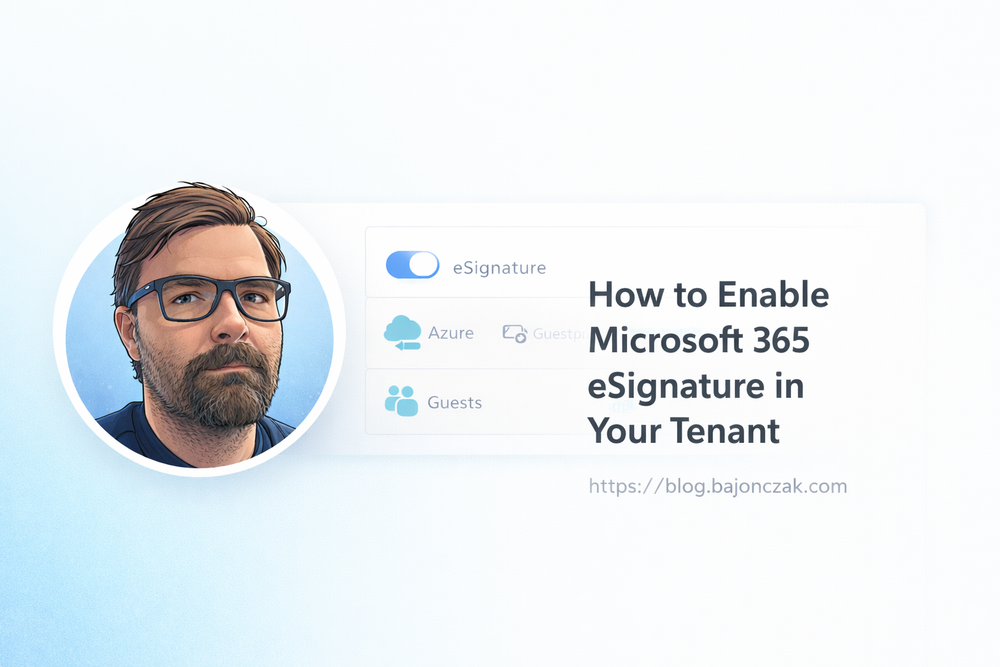
How to Enable Microsoft 365 eSignature in Your Tenant
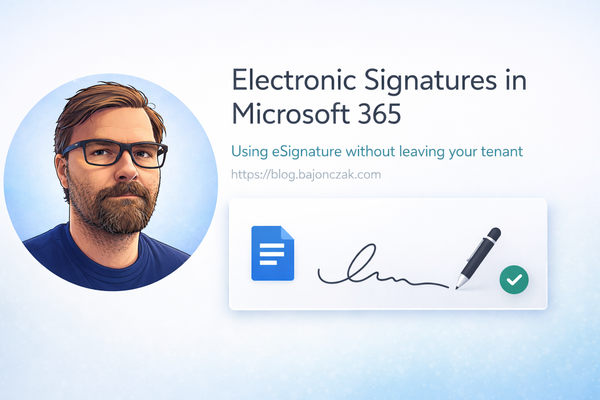
In my last post I looked at why Microsoft 365 eSignature is interesting: you can request and collect electronic signatures directly in SharePoint, OneDrive and Word, without sending your documents off to a separate platform.
This follow-up is for a different audience:
- Microsoft 365 admins,
- SharePoint admins,
- and technically inclined people who get asked: “Can you please turn this on for us?”
In other words: this is the “how do I actually enable this in a tenant?” post.
I’ll keep it business-friendly at the top and concrete at the bottom, with screenshots replaced by clear descriptions and some PowerShell where it makes sense.
1. What you’re enabling – in business terms
Before touching any admin portal, it helps to be able to explain in one sentence what you’re doing:
“We’re enabling a Microsoft 365 feature that lets people request and sign documents directly in SharePoint / OneDrive / Word, with usage billed via Azure.”
Key points you can use when talking to stakeholders:
- No extra platform for many scenarios – signing happens where the files already live.
- Existing providers can stay – if you use Adobe Sign or DocuSign, you can plug them in behind the M365 eSignature UI.
- Pay-per-use via Azure – no new fixed M365 plan, but a usage-based service you can monitor and cap.
- Same identity model – signers are M365 users or guests, so you stay inside your existing compliance and audit framework.
Once people are comfortable with that, you can move to the actual steps.
2. High-level architecture
Early on, I found this mental model helpful:
flowchart LR
  subgraph M365
    SP[SharePoint / OneDrive]
    W[Word]
  end

  M365 -- uses --> ESig[eSignature Service]
  ESig -- billed via --> AZ[Azure Subscription]
From the tenant’s perspective:
- Users trigger sign requests from SharePoint / Word.
- Behind the scenes, the eSignature service runs and bills usage to an Azure subscription.
- Signed documents land back in your libraries.
3. Prerequisites checklist
Before doing anything else, make sure these boxes are ticked:
- Azure subscription with a valid billing setup (credit card, CSP, etc.).
- Microsoft 365 tenant with SharePoint Online and OneDrive for Business.
- Office apps for Enterprise if you want the Word integration (desktop/web).
- External collaboration policy that allows guests, if you plan to have external signers.
I strongly recommend doing the initial enablement in a test tenant or at least on a test site collection before you roll this out to everyone.
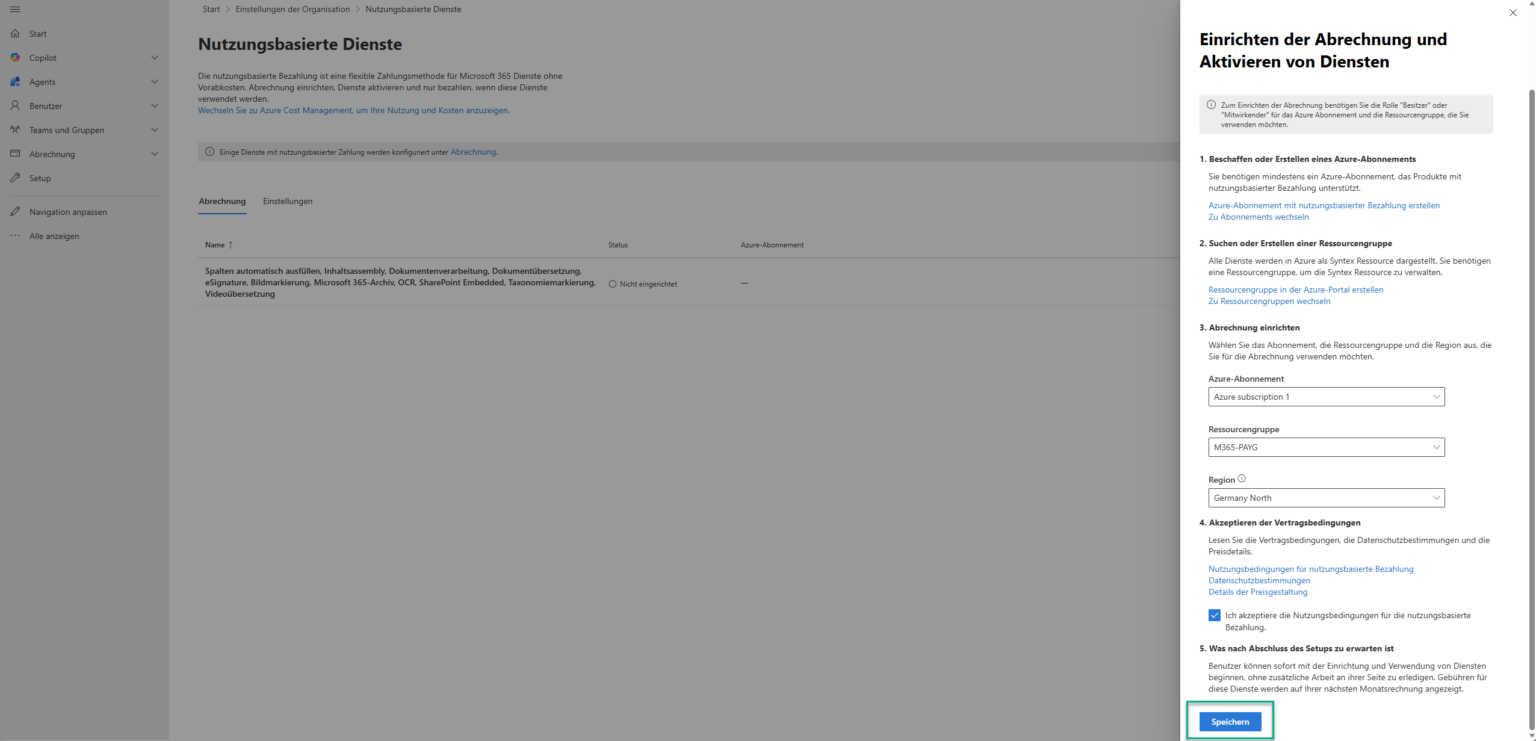
4. Linking Microsoft 365 to Azure pay-as-you-go
The eSignature feature is part of the broader “pay-as-you-go services for Microsoft 365”. You need to link your M365 tenant to an Azure subscription so usage can be billed.
High-level steps:
- Sign in to the Azure portal as a subscription owner.
- Verify that you have a subscription ready for pay-as-you-go services (or create one).
- Sign in to the Microsoft 365 admin center as a global admin.
- Navigate to the section for pay-as-you-go services (typically under Settings → Org settings → SharePoint / SharePoint Premium).
- Choose the Azure subscription you want to link to your M365 tenant for document processing.
Once this link is in place, SharePoint/M365 can start using eSignature and other document processing features against that Azure subscription.
4.1. Verifying with PowerShell (optional)
If you like to double-check settings via script, you can use the SharePoint Online Management Shell:
# Connect to your tenant
Connect-SPOService -Url https://<your-tenant>-admin.sharepoint.com

# Check if SharePoint Premium is enabled (naming may vary by SKU)
Get-SPOTenant | Select-Object IsSharePointPremiumEnabled

# Enable SharePoint Premium if required
Set-SPOTenant -IsSharePointPremiumEnabled $true
Always cross-check the exact property names with the latest Microsoft documentation; they sometimes change between previews and GA.
5. Guest access and sharing – don’t skip this
Because eSignature uses secure share links and M365 identities, external signers need to exist as guests and be allowed to sign in.
Two places to review:
5.1. External collaboration settings (Entra ID / Azure AD)
- In the Entra ID portal, go to External identities → External collaboration settings.
- Confirm that guests are allowed.
- Check who is allowed to invite guests (admins only, members, specific roles).
- Review any domain allow/block lists – make sure you’re not blocking the domains you want to sign with.
5.2. SharePoint / OneDrive sharing policies
- In the SharePoint admin center, go to Policies → Sharing.
- For the tenant and for the specific sites you will use, ensure at least “Existing guests” or “New and existing guests” are allowed.
- You do not need anonymous links for eSignature, and I’d recommend keeping them off for sensitive libraries.
Without this, sign requests to external people will fail in confusing ways (“link doesn’t work”, “I can’t access the document”). Better to align with your security team upfront.
6. Enabling eSignature in the M365 admin experience
With billing and guest access ready, you can finally flip the actual feature switch.
- In the Microsoft 365 admin center, go to the SharePoint admin center.
- Look for SharePoint Premium or content services settings.
- Find the section for eSignature.
- Enable eSignature for your tenant and confirm it can use the linked Azure subscription.
If your organisation already uses Adobe Sign or DocuSign and you want to keep them in the loop:
- connect your Adobe/DocuSign tenant as a provider in the eSignature settings,
- grant the required API permissions so M365 can orchestrate sign requests via that provider.
From a user’s perspective, they will see “Request signature” in M365; under the hood, the actual signature may still be processed by Adobe/DocuSign.
7. Where users will see eSignature once it’s enabled
After the switches are on, you can validate the setup by looking in three places.
7.1. SharePoint document libraries
- Go to a test document library.
- Upload a sample Word/PDF file.
- Open the context menu or command bar → you should see an option like “Request eSignature” or similar.
7.2. Word (desktop / web)
- Open a document stored in SharePoint/OneDrive.
- Look for a “Sign” / “Request signatures” entry in the ribbon or File menu.
Note: this may depend on your Office build and licensing; make sure you test with an account that has the right SKU.
7.3. Power Automate
- Open Power Automate and create a new flow.
- Search for eSignature-related actions or for your provider connector (Adobe Sign, DocuSign) if you integrated one.
- You should see actions to start a signing process, check status, etc.
8. A minimal end-to-end flow to prove it works
Before you tell everyone “it’s live”, I’d build at least one simple end-to-end flow to prove the whole chain.
Example:
Trigger: When a file is created in Library "Contracts/Pending"
Action:  Get file metadata
Action:  Start eSignature request (document = file, signers from a column or manual list)
Action:  Wait until eSignature status = Completed
Action:  Copy or move signed file to Library "Contracts/Signed"
Action:  Post message in Teams channel "Legal" with link to the signed file
This doesn’t have to be your final production flow, but it gives you confidence that:
- billing works,
- guest access is configured correctly,
- and your users will actually see signed files where you expect them.
9. Admin checklist before rolling out broadly
In tenant projects I like to ask a few questions before we roll eSignature out to everyone:
- Do we know which document types should use M365 eSignature and which stay on specialised providers?
- Have we defined who can request signatures and from which sites/libraries?
- Is guest access configured in line with our security policy?
- Do we have monitoring in place for Azure usage/costs for eSignature?
- Do we know how to quickly disable eSignature if something unexpected happens?
Once those are answered, the technical enablement is straightforward – and you can point your colleagues to the previous article for the “why” and this one for the “how”.