How to Build Xamarin iOS Packages in Azure DevOps
DevOps is not only a buzzword, DevOps is a toolkit from Microsoft called Azure DevOps. This tool is a Sourcecode management tool, combined with a nice ticket system that can be used to manage projects and also deliver complete packages automatically.
So in this article, I will show you how I generate an App-File for an ios system like an iPhone with Azure DevOps.
Requirements
To generate signed Packages for the iOS Packages you need a paid developer account from Apple. You can get one from developer.apple.com. Now you will get the following information
- The p12 certificate (with password)
- The provisioning profile
Storing secure in Azure DevOps
The next important thing is how to store the file securely to get access during the build pipeline. For this AzureDevops has the option to store secure files. This is a separate store that will be available to the desired pipeline. These files are not always accessible to everyone, only to those that are allowed to accessing them.
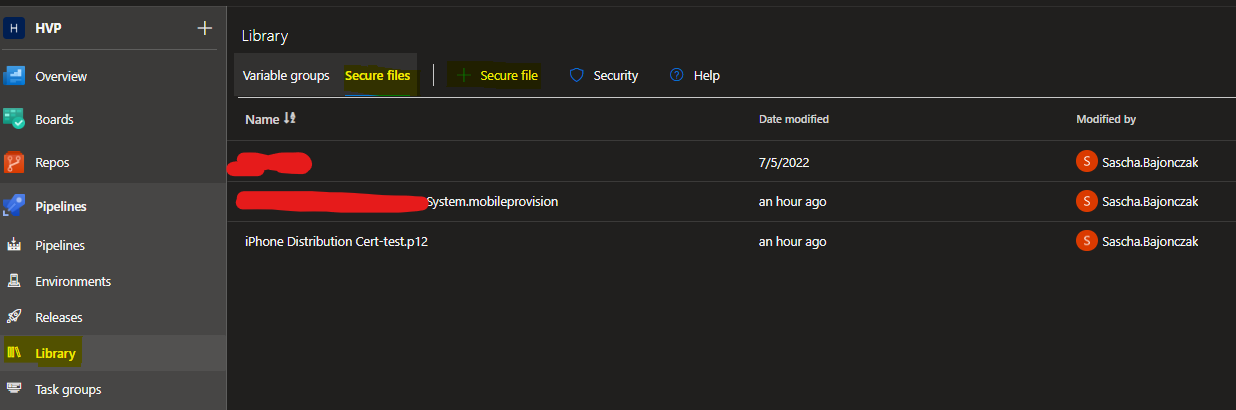
After you have uploaded the provisioning file and the certificate you must next define the required variables. So let's switch to the tab "Variable groups" and create a new group. Let's call it "iosTest".
In this, we will define the following variables
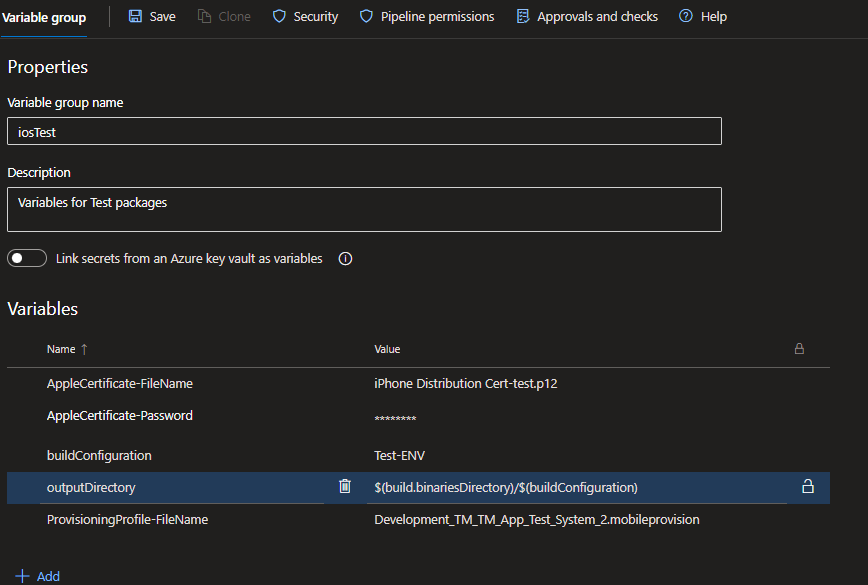
The AppleCertificate-FileName contains the filename of the certificate stored in the secured file location. It's just a reference to this file nothing more. News you must store the password for this certificate into the variable AppleCertificate-Password. Finally, you need to store the filename of the provisioning file we call this variable ProvisioningProfile-FilenName, this will set only the reference to the file in the secure files-Tab.
Create the Pipeline
I will step over how to create an empty pipeline. So I will share with you my yaml Pipeline script that I use to generate a signed IPA - package.
At the top, we define that it will trigger only on the branch release_candidate, so when you push your changes to this branch, it will start to run. The next definition is the used virtual Image to build on. It is important that it is set to macos-latest because this defines that all commands in our build will be run on an macOS runtime.
After that, we will reference our variable group called iosTest. Now the following part defines the steps that are required to build our package. First of all, there are the steps, that will download the secured files from the secure file store in azure DevOps. After that, we install our certificate on the build agent and also the provisioning profile.
After that, it will restore the required NuGet packages and at the next step, it will start the main build for our package. This will build the project with the given provisioning profile and the certificate. The build process can find them in the local key store because they were already installed before on this system.
Don't worry this image will be later destroyed so you must not have any worries about the security of your keys.
After the compilation is finished we will copy the IPA-File into the artifact store and upload them.
That's the complete process.
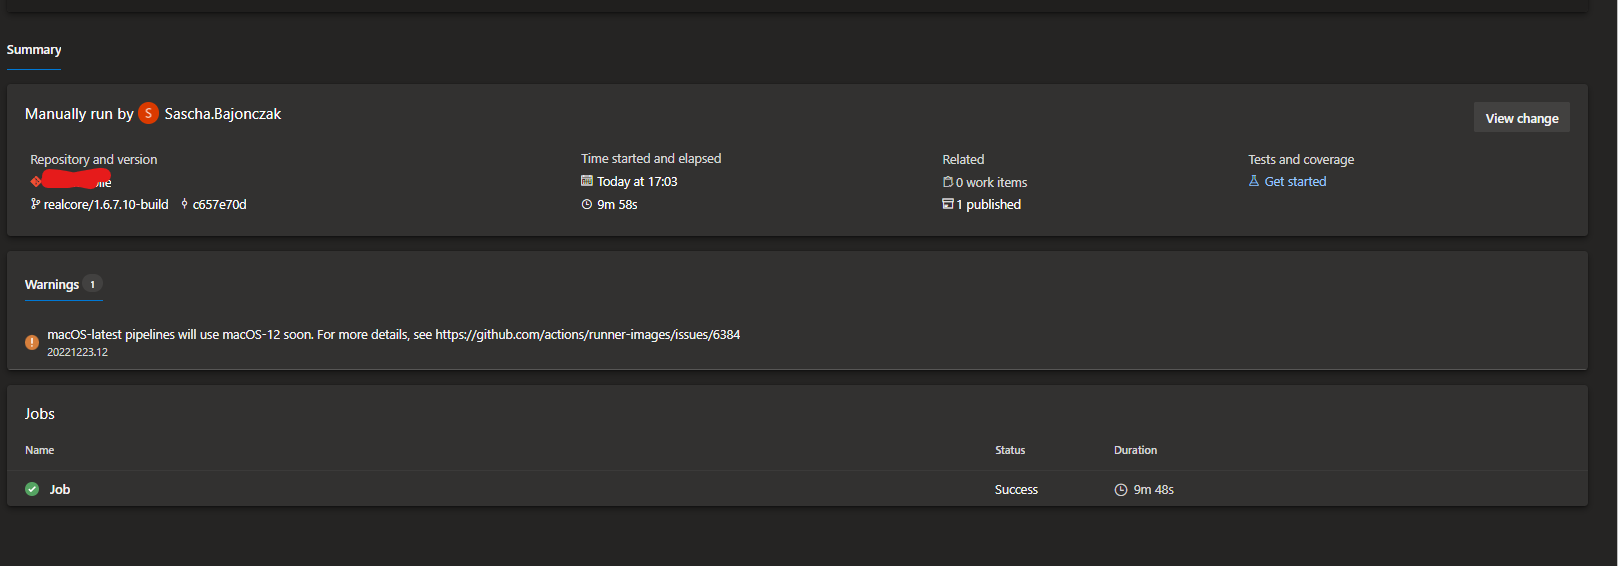
Test the build definition
We can now execute the pipeline and after a while, you will get prompted with the green check.
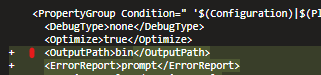
At first, I got some errors calling "The BaseOutputPath/OutputPath property is not set for project..." to fix this, I must open up the .csproj file and set the OutputPath-Property to a folder.
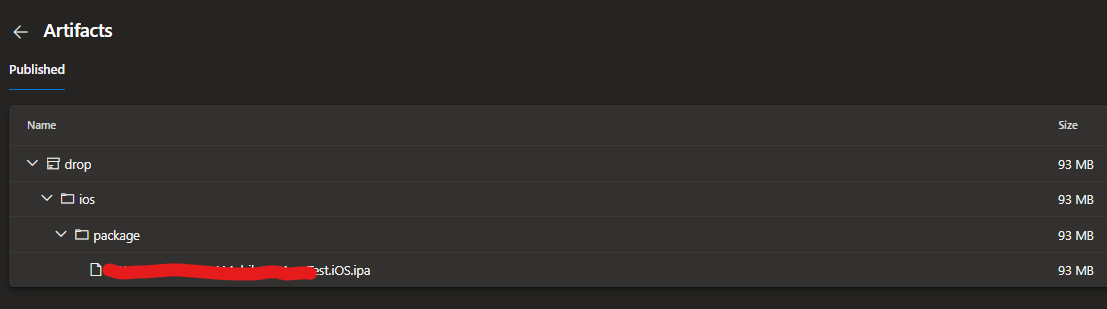
So you see that one artifact was published if you look into your artifacts you will see then your IPA-file
Conclusion
With Azure DevOps, you have a nice Build tool that can build almost every runtime, also ios apps. With the option to build an ios App, you get the ability to create a CI/CD Pipeline that will automatically generate a new App-Version on every completed feature.