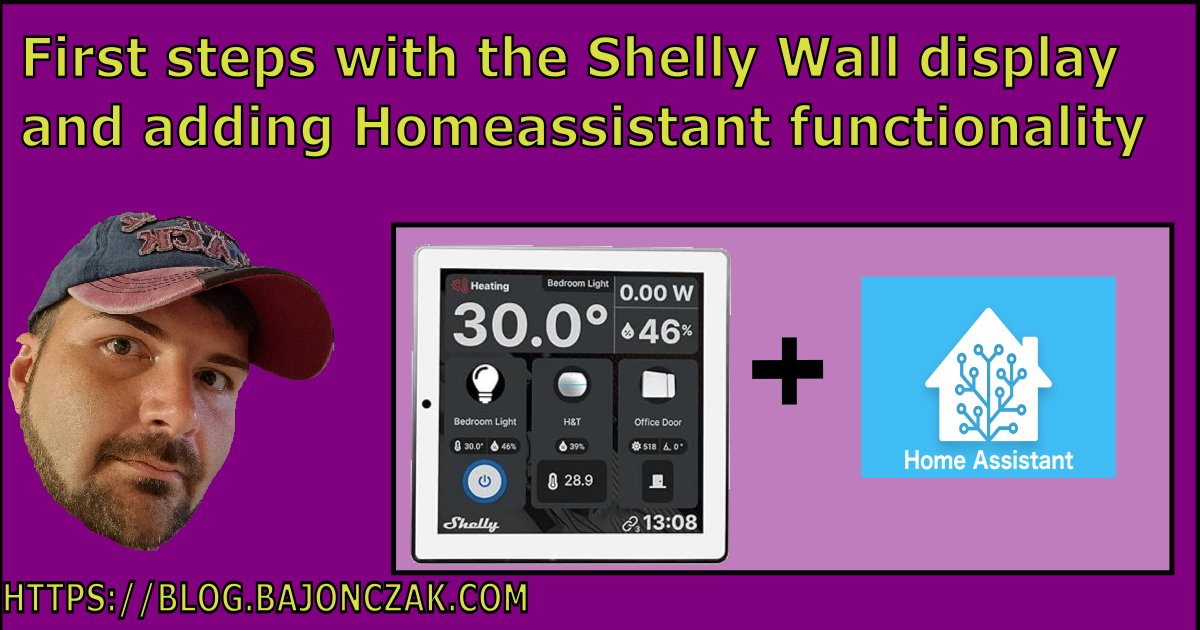
First steps with the Shelly Wall display and adding Homeassistant functionality
I bought these wall displays during a Black Friday offer/sale. Since I use Shelly in many switches at the moment, why not give it a try?
Shelly offers a nice-looking wall display that fits into a standard plug socket. So, I have many switches that are not "Shellyfied" ;), especially in our bedroom. The challenge is that I installed 2 other ambient lights powered by WLED, and their power is controlled by Shelly. But the problem is that I cannot turn it on via a switch.
I propose replacing the old-style switch with the Shelly Display. This room is a "safe place" to test this out.
But what can this display do for me? So let's get started.
The Shelly wall display
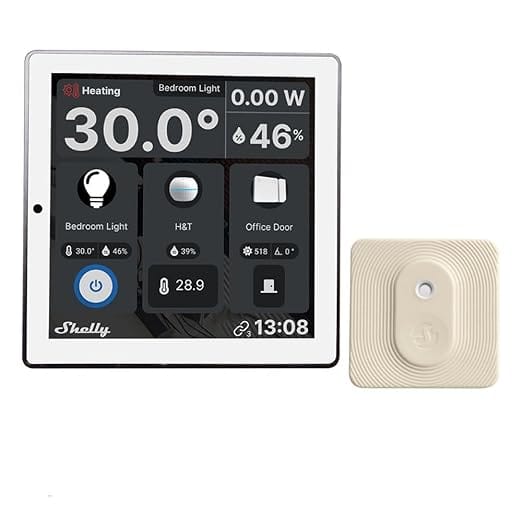
The Shelly Wall Display (link to Amazon) is a compact, versatile control hub for smart home enthusiasts. Its sleek design and bright, responsive touchscreen blend seamlessly into any modern home. Installation is straightforward, requiring only a standard flush-mounted box and a power connection.
In common, I have Pro and Cons gathered together for a quick overview
Pros
- ✅ Intuitive Operation: The touchscreen is highly responsive, and the interface is well-organized and user-friendly.
- ✅ Flexibility: It supports a wide range of Shelly devices and third-party integrations via MQTT and HTTP.
- ✅ Customizability: Users can personalize the interface to control scenarios or devices with a single touch.
- ✅ Works also with low temperatures
- ✅ Compact Design: Its unobtrusive design fits neatly into any environment
- ✅ Integreated switch that can be used a thermostat also.
- ✅ ships with an internal temperature and humidity sensor
Cons
- ❌ Limited Third-Party Apps: While Shelly supports many protocols, dedicated apps for more complex automation are lacking.
- ❌ Price Point: Some users might find it pricey compared to simpler wall controllers.
- ❌ No Battery Option: A constant power supply is required, limiting placement options.
- ❌ No camps for mounting it into regular plug sockets
Since the new beta is out, you can add a dashboard from your Homeassistant. More on this later in this article
Mounting
The Shelly mounting plate looks like this:

You will see that the wire connectors are now directed to the back, so it is (in my opinion easier to mount the cables and put it back in to the socket.
To mount the plate itself to the wall you have two options .
- Using the holes within the plug sockets
- Drill two holes and mount it to this outside the socket
I wonder why no camp fits it into the plug socket. Then, you would be free to use it in regular sockets.
My only option was to mount two small holes to mount the socket to the wall instead of the plug socket. Because the mounting holes are covered with cement. Finally, I drilled the holes and mounted them onto the wall, but wait! There is one important thing! The wiring ;).
Wiring the Shelly Wall Display
I will replace a regular wall switch with the wall display. So, instead of the regular wiring with an attached switch like this

I use these wiring (thank you, paint.net :)):

Finally, I wired this to the wall display socket, and you will see that a small red LED lights up. This indicates that the socket is now ready to use.
I screwed the socket at the wall (to the previously mounted holes), and I was ready to go.
Mounting the display
Finally, you are able to mount the display to the socket. There is nothing wrong with this, so just plug it into the wall socket, and you will see that the display lights up immediately.
I screwed the socket at the wall (to the previously mounted holes), and I was ready to go.
First impressions
After the wall display is ready to use, you can turn on and off the internal switch by just touching it. This works seamlessly, so the touch panel is very sensitive. Even when the panel is dark or in "sleeping" mode, you can touch the display, and it will then toggle the switch state.
Seriously, I was a little bit afraid of the touch display's reaction time, but that is not a problem now.
The internal temperature and humidity sensor data will also be displayed on the initial screen.

So the reaction time was quite good in my opinion.
Customizable UI
The Wall Device is primarily designed to work with every other Shelly device. After you connect via the Shelly Cloud, you can add new devices to the home screen you want to control. See this
You have only one Homescreen, but if you have added many devices, you can scroll right and left to "navigate" between them.
The settings
The settings are mostly the same as in the app itself. You can control the connectivity, and especially for the wall display, you can make settings to the wall display itself, like turning off the screen.
Homeassistant integration
The Homeassistant integration is not a secret anymore. To enable the Homeassistant integration, you must update to the latest firmware version (beta)

After this update, the Wall display restarts, and you can activate Homeassistant

In the Network setting, you will see the new Homeassistant setting

Before you can do anything, it must download some required components to support the connection to the homeassistant instance.


Finally after a little bit of waiting time passes away, you can configure the connection.

It then scans for homeassistant servers, but you can add your server manually. After that, you will see you Instance in the list and you must activate it. Don't forget to save this setting.
Please keep in mind that you must enter the dashboard to display in the Homeassistant tab.

Now you can tap on the homeassistant logo and be redirected to the entered dashboard (Please login to the Homeassistant instance with your account).

Finally it looks like this:

Finally the Homeassistant allows you to control throd party devices. In my case I added in my homeassistant a live stream from my front door camera to quickly look who is at the door when it rings.
Here is a small video that shows you how responsive the display is.
Final thoughts
The Shelly Wall Display offers a practical and visually appealing solution for smart home enthusiasts who want more control over their connected devices. My journey of replacing an outdated switch with this modern display highlights its potential and versatility, but also reveals a few limitations.
What I Loved
The Wall Display's intuitive operation and sleek design are standout features. Installation was relatively straightforward, and its responsive touchscreen exceeded my expectations. The integration with the Shelly ecosystem and compatibility with Home Assistant opened up a world of possibilities for managing my smart home. Toggling lights, monitoring environmental data, and even viewing live camera feeds from a single device felt incredibly convenient.
Challenges I Faced
That said, the mounting process left room for improvement. The lack of a proper adapter for regular plug sockets meant I had to resort to drilling, which could deter less experienced users. Additionally, while the display’s feature set is robust, the price and the absence of a battery-powered option might not appeal to everyone.
A Bright Future for Shelly?
The recent beta firmware update introducing Home Assistant integration adds significant value to the device. This functionality allows seamless control of third-party devices, transforming the Wall Display into a central hub for a smart home. Shelly has set a solid foundation, but refinements—such as better mounting options and more flexible configurations—would make it even more compelling.
Is It Worth It?
If you're already invested in the Shelly ecosystem or exploring advanced smart home setups, this display is a fantastic addition. However, for those new to smart home technology or working within a tight budget, it’s worth weighing the pros and cons carefully.


