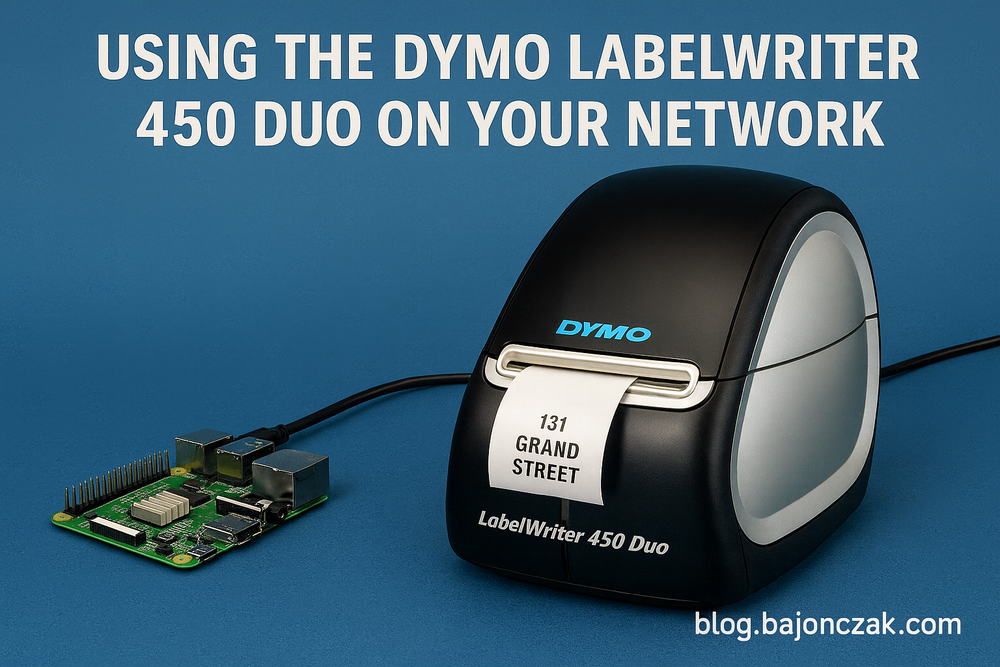
Using the Dymo Labelwriter on your Network
If you print labels frequently, you know the struggle:
Your label printer sits on one desk, connected via USB, and every time you need a label from another device, you have to move cables around. Annoying.
I’m using the DYMO LabelWriter 450 Duo, a reliable workhorse that prints both normal and continuous labels. The device has served me well for years — and with a bit of setup, you can turn it into a fully accessible network label printer using a Raspberry Pi and CUPS.
What is a Dymo Label Wirter
The DYMO LabelWriter 450 Duo is a compact, versatile label printer designed for quick and efficient labeling tasks at home or in the office. It supports both standard paper labels and durable continuous labels, making it ideal for organizing storage boxes, shipping packages, office documents, cables, and even small inventory systems. With fast thermal printing, no ink required, and a wide variety of label types, the 450 Duo is a practical tool for anyone who needs clean, reliable labels on demand. When combined with a network setup, it becomes even more powerful — allowing multiple devices to print labels effortlessly from anywhere in your local environment
What you need
- DYMO LabelWriter 450 Duo
- Raspberry Pi (I’m using Ubuntu, but Raspberry Pi OS works perfectly too)
- USB cable for connecting the printer
- A local network
What is CUPS?
CUPS (Common Unix Printing System) is a printer server for Unix-based systems.
It allows you to share USB printers across your network — in other words, CUPS turns your Raspberry Pi into a small print server.
Installing and configuring cups
Installation is straightforward:
sudo apt install cupsTo make the printer reachable from other devices in your network, edit the config file:
sudo nano /etc/cups/cupsd.confFind this line:
Listen localhost:631Replace it with:
Listen 0.0.0.0:631For simplicity, you can open up admin access within your network (you can lock this down later):
<Location />
  Order allow,deny
  Allow all
</Location>

# Restrict access to the admin pages...
<Location /admin>
  Order allow,deny
  Allow all
</Location>

# Restrict access to configuration files...
<Location /admin/conf>
  AuthType Default
  Require user @SYSTEM
  Order allow,deny
  Allow all
</Location>
Now to a restart of this service
sudo service cups restartAnd you can now open up the admin portal in your browser by navigating to http://{IP OF THE PI}:631/admin
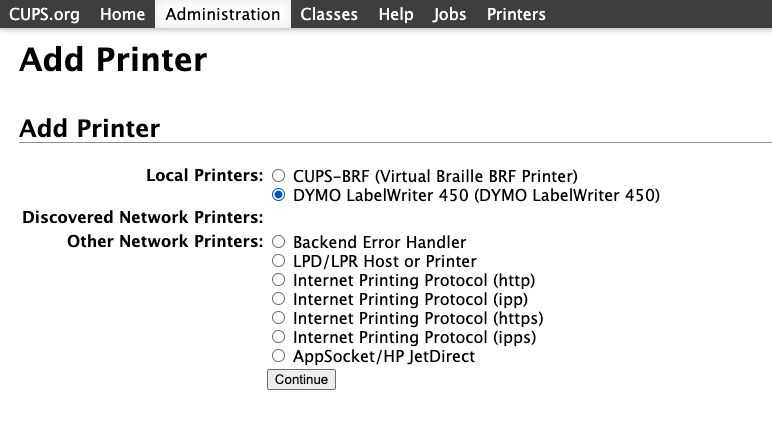
At this point, you must attached the dymo device to the usb port. So when you open up after that the admin portal. Within the Administration you now see your Label Writer 450 just select this and hit "continue"
Hint! When you will be prompted for alogin, use the ssh user (root) or a dedicated user that is in the lpadmin group.
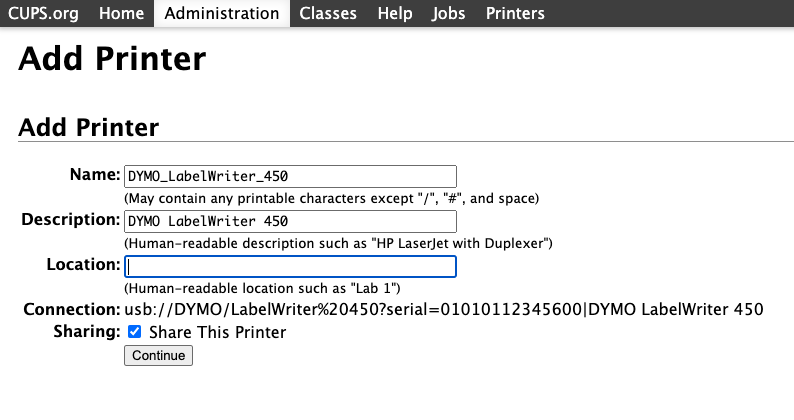
Next you can add some metadata and hit "continue"
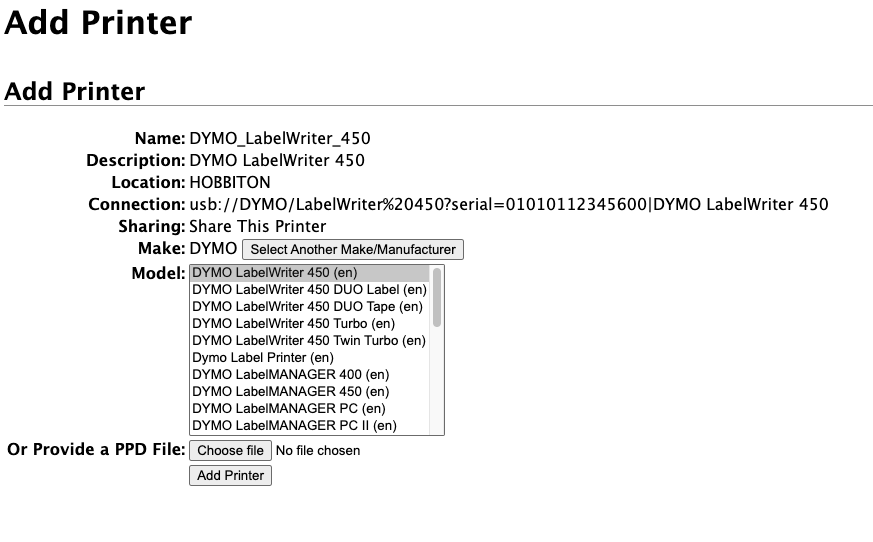
Now review the settings and Add the printer
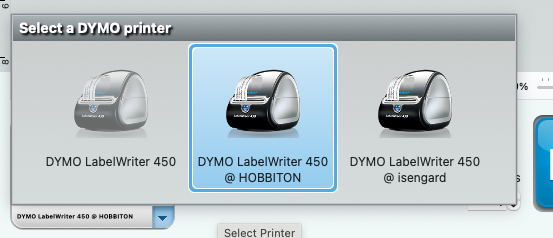
Integrate the printer now
Now it's time to add this printer to the laptop / pc as printer. open up the printer settings and you will see the device now and you can add this as a printer in your system.

Now when you open the Dymo Lable Utility you will see "remote" printer and you can use it to print some labels.