I Stopped Writing UI Code. Now I Let MCP Servers Build My Interfaces with ShadCN
ShadCN looked great on paper, Cursor seemed smart enough, and I thought I could skip the boring frontend parts. just tell it what to build and let it do the rest.
Wrong.
Instead of a clean UI, I ended up with messy layouts, clashing styles, and components that just didn’t work together.
Not a Medium member? Click here to read the full story for FREE.
I almost gave up on building beautiful interfaces, until I discovered a new workflow powered by something called the ShadCN UI MCP server.
And it completely changed everything.
Why Most AI + UI Workflows Fail (And What Nobody Tells You)
Let’s get real: tools like Cursor and Claude Code are impressive, but when it comes to UI, they lack one critical thing, context.
They don’t understand how ShadCN components are meant to be used. So unless you guide them with a tight process, they’ll spit out half-baked UIs that barely hold together.
That’s what was happening to me over and over. Until I implemented a three-part system:
- Use the ShadCN UI MCP server for context and structure
- Leverage demo patterns for foolproof component usage
- Customize with TweakCN for unique, beautiful design
Let’s walk through it step by step.
Step 1: Set Up the MCP Server
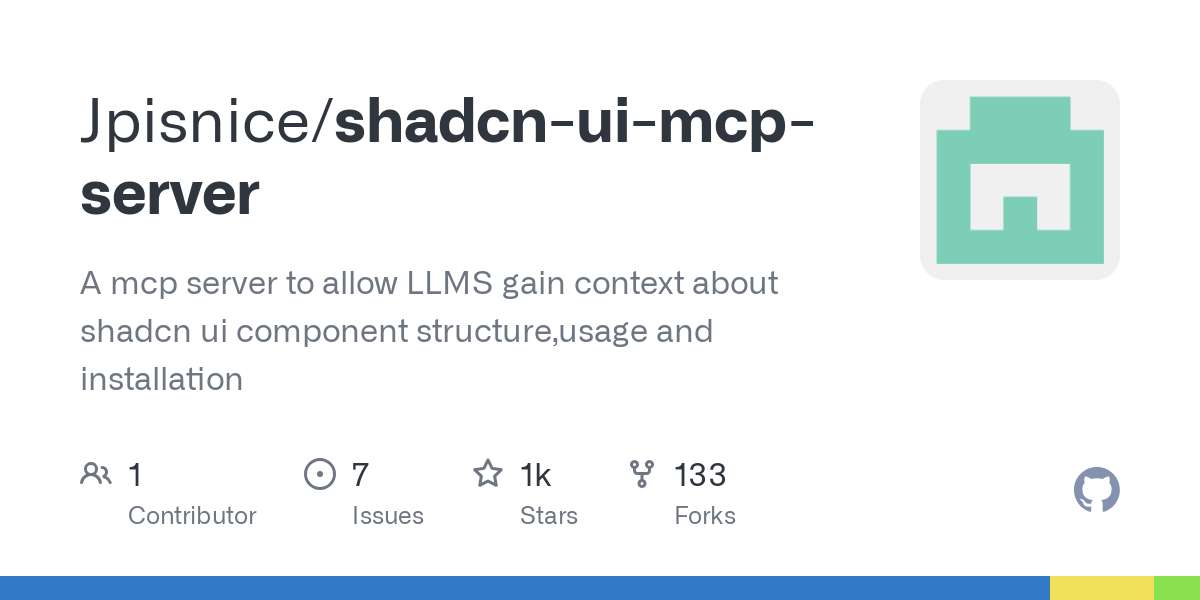
The shadcn-ui-mcp-server fixes one of the biggest issues with AI-generated UIs: they often look off because they lack real context. This tool brings that missing context back, so your components actually work and look the way they’re supposed to.
Once it’s connected, you’re ready to build UIs that actually work the first time.
Installation Tips:
- Use your GitHub personal access token to bump up your request limit (5,000/hr vs. 60/hr)
- Don’t forget to save your token, you won’t see it again

- Install
shadcn-ui-mcp-serverusing npx (Recommended) the fastest way to get started.
# Basic usage (rate limited to 60 requests/hour)
npx @jpisnice/shadcn-ui-mcp-server
# With GitHub token for better rate limits (5000 requests/hour)
npx @jpisnice/shadcn-ui-mcp-server --github-api-key ghp_your_token_here- Plug it into Cursor via settings (Cmd/Ctrl + Shift + j) → tools & integrations → New MCP Server
- Add MCP Server Configuration:
{
  "mcpServers": {
    "shadcn-ui": {
      "command": "npx",
      "args": ["@jpisnice/shadcn-ui-mcp-server", "--github-api-key", "ghp_your_token_here"]
    }
  }
}
Once installed, you unlock these tools:

get_component:Get component source codeget_component_demo:Get component usage exampleslist_components:List all available componentsget_component_metadata:Get component dependencies and infoget_block:Get block implementations (dashboard-01, calendar-01, etc...)list_blocks:List all available blocks with categories
The real secret? I wrote rule files that tell my AI agent how to behave when working with ShadCN.
I want to build a modern web interface using ShadCN components.Goal:
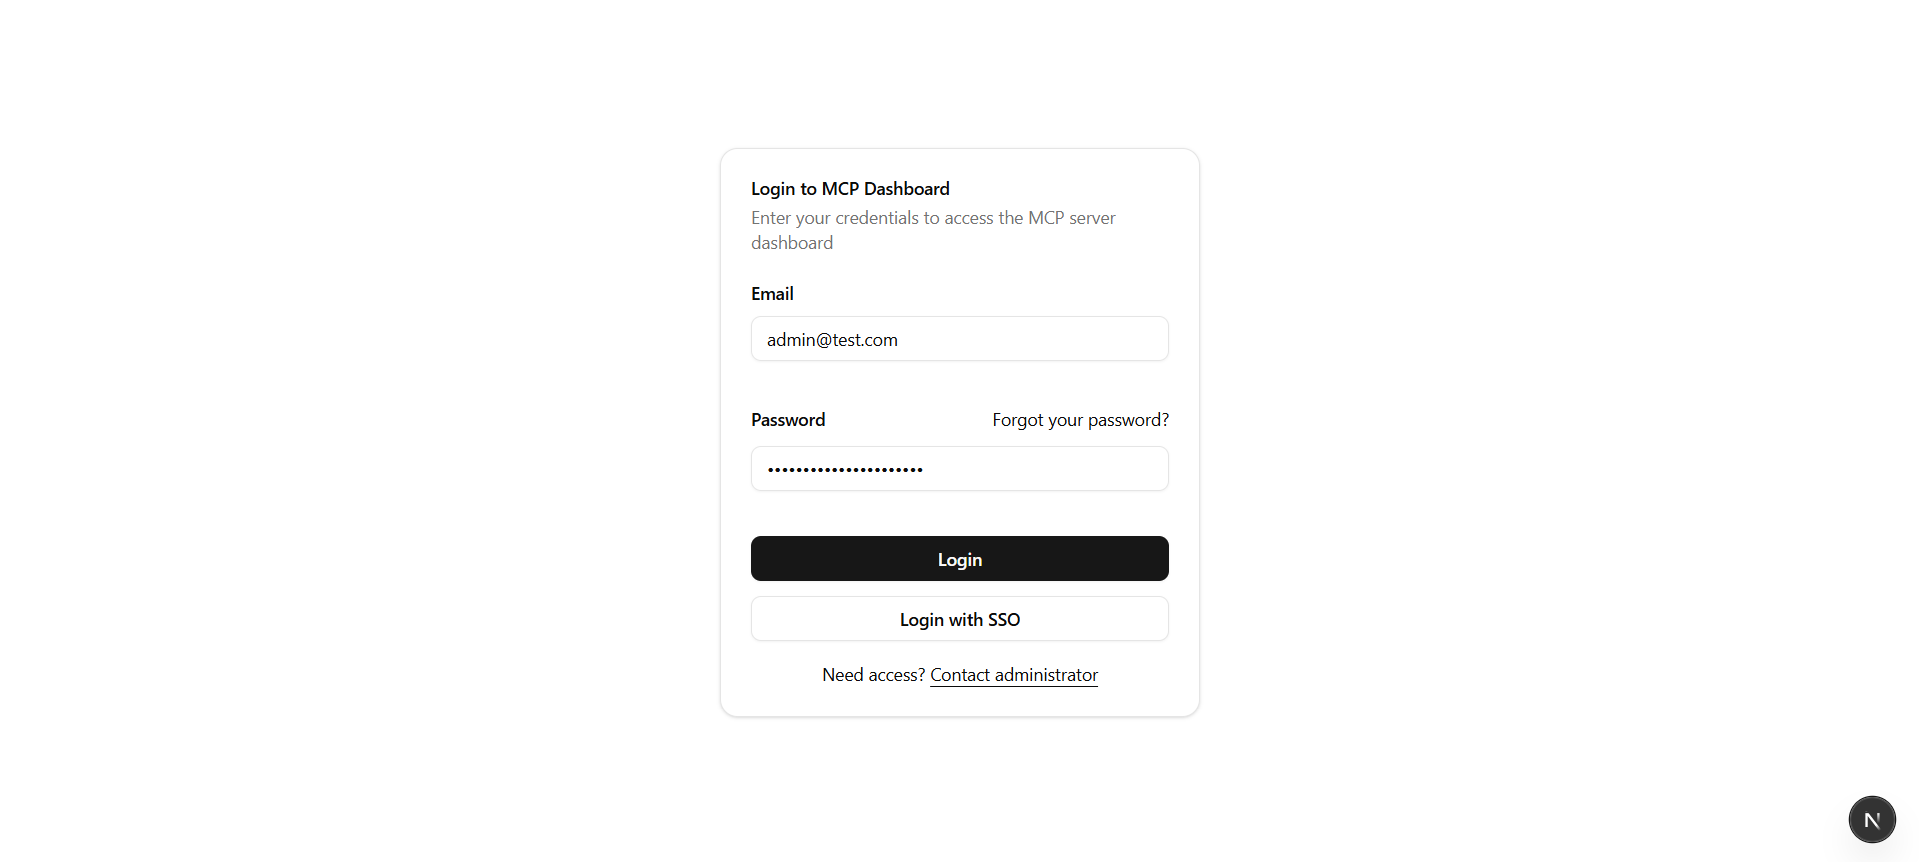
- A login page with standard email/password authentication.
- After login, a dashboard displays a grid of cards — each representing an MCP server.
- Clicking a card opens a detailed view with:
- A header image
- Metadata (name, status, region, version)
- Installation steps shown as bubble cards or collapsible UIPlease generate an implementation plan:
- List the key components and pages to build
- Suggest how to structure the project modularly
- Recommend the tools/hooks/layout strategies to use for optimal UX
After brainstorming you can create your rule file for cursor rule.mdc

So here’s what I did next:

I asked Claude to take the entire structure and drop it into a task.md file.
Then, I triggered the next phase with this simple instruction inside my Cursor project:
@rule.mdcPlease implement the UI plan outlined @task.md for our next.js app.
You can begin building directly from the defined structure.

And that’s when the magic happened.
Because the rule file had already been set up to pull in ShadCN components through the MCP server, Cursor followed the entire logic tree:
- Parsed the structure from
task.md - Identified each ShadCN component needed
- Called the
get_component_demotool to check correct usage - Began assembling the full UI block by block
It literally turned a spec sheet into a living frontend without me lifting a finger.
This UI wasn’t cobbled together. It followed every rule and planning artifact we built into the system.
The result? A frontend that was not only fast to build but structurally sound and easy to extend.


Step 3: Customize Everything with TweakCN
Let’s be honest, a lot of ShadCN sites look the same.
You can:
- Change colors, spacings, borders, typography
- Preview every tweak live
- Export a theme and install it directly into your project

If Cursor struggles to install it directly, just copy the custom code and paste it manually. Every variable you need is clearly listed.
Real Talk: Why This Workflow Works (and Why You Should Try It)
Here’s what used to happen:
- I’d ask AI to build a UI → It’d mess up component usage
- I’d waste hours fixing CSS or rewriting layouts
- My site looked like a ShadCN clone factory
Now?
- I plan every UI with structured files
- I implement with context-rich tools
- I design with a visual editor
- And I rarely debug UI anymore
The result? My sites look custom, feel professional, and work across devices, the first time.
Final Thoughts
We’re entering an era where context-driven AI workflows are the only way to build fast and at scale. You wouldn’t write backend logic without testing and structure, so why treat your UI like it doesn’t matter?
Start with the MCP server. Design with intent. Let the AI assist you with guardrails.
Your users will notice. Your projects will look legit. And you’ll finally feel like your UI matches the quality of your code.